Build Timeline.
>
Ever wondered how a full renovation is carried out? We’ve put together a photo time-lapse of one of our recent projects to give you a better understanding of what we do and when we do it.

Original build | Front of the residence.
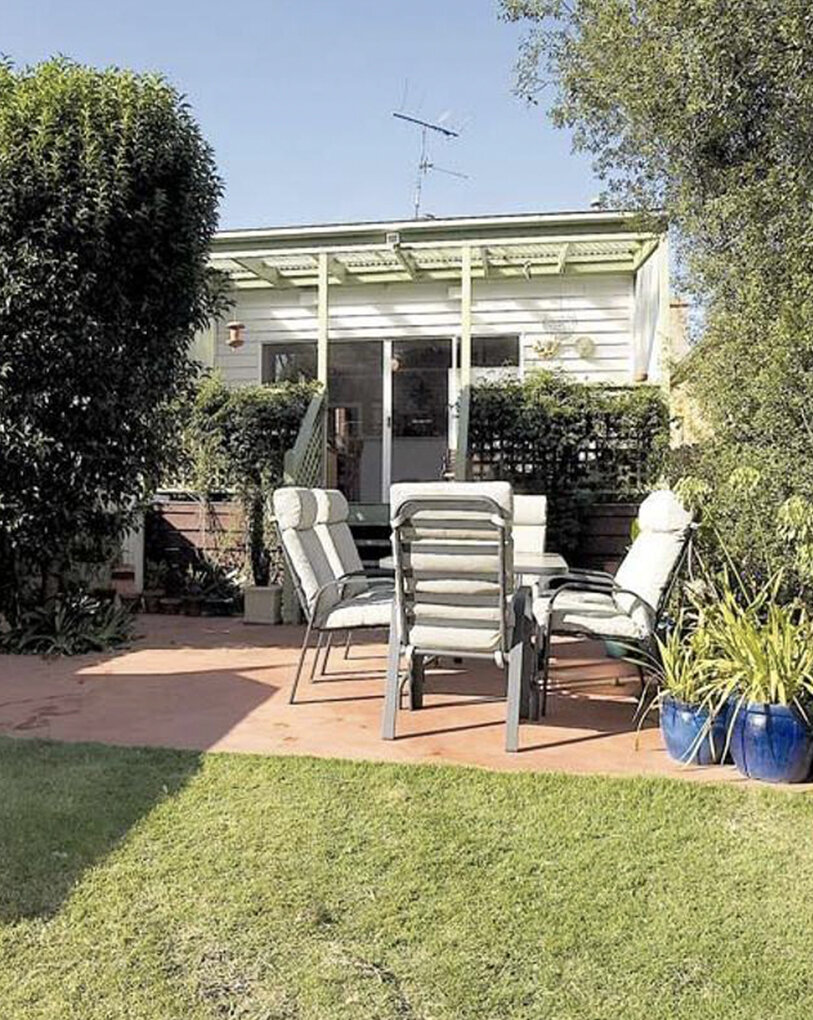
Original build | Rear of the residence.
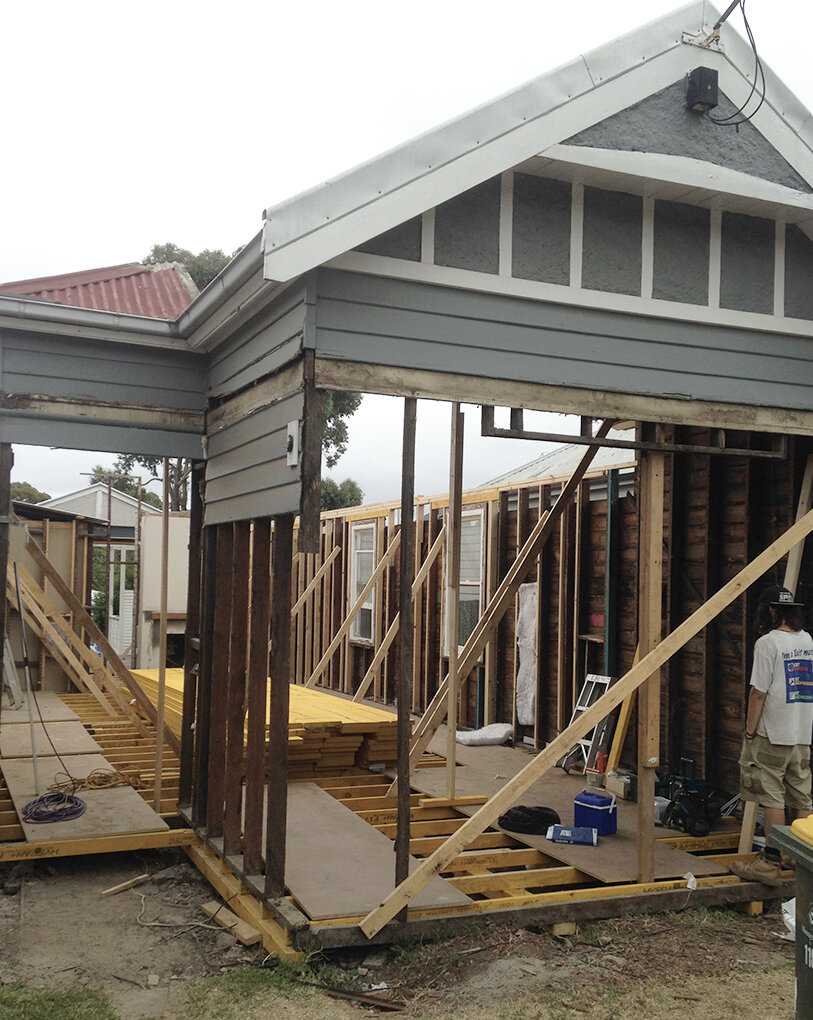
Week—3 Determining what stays and what goes is very important. All timber windows and roof truss measurements are confirmed and in production.
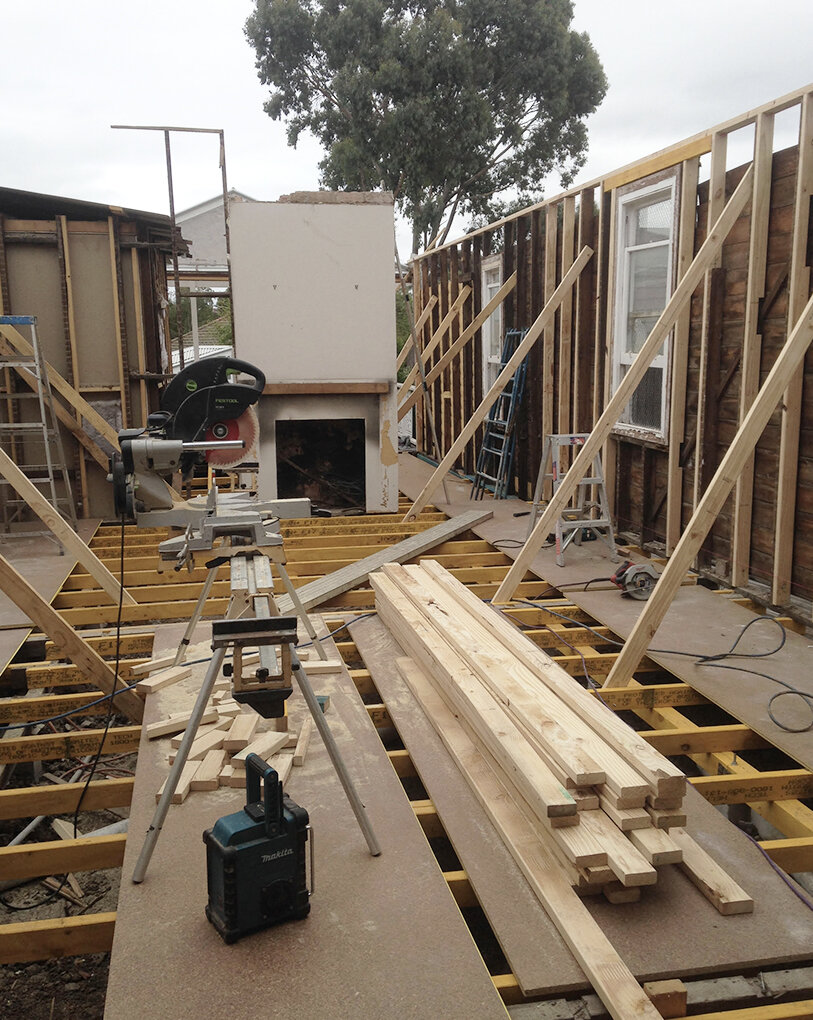
Week—3 Retaining existing stage, bracing external walls, new continuous span floor joists. Laminate new pine timbers to existing hardwood, assisting in strength (in this case, a far better option than plaining and packing walls).
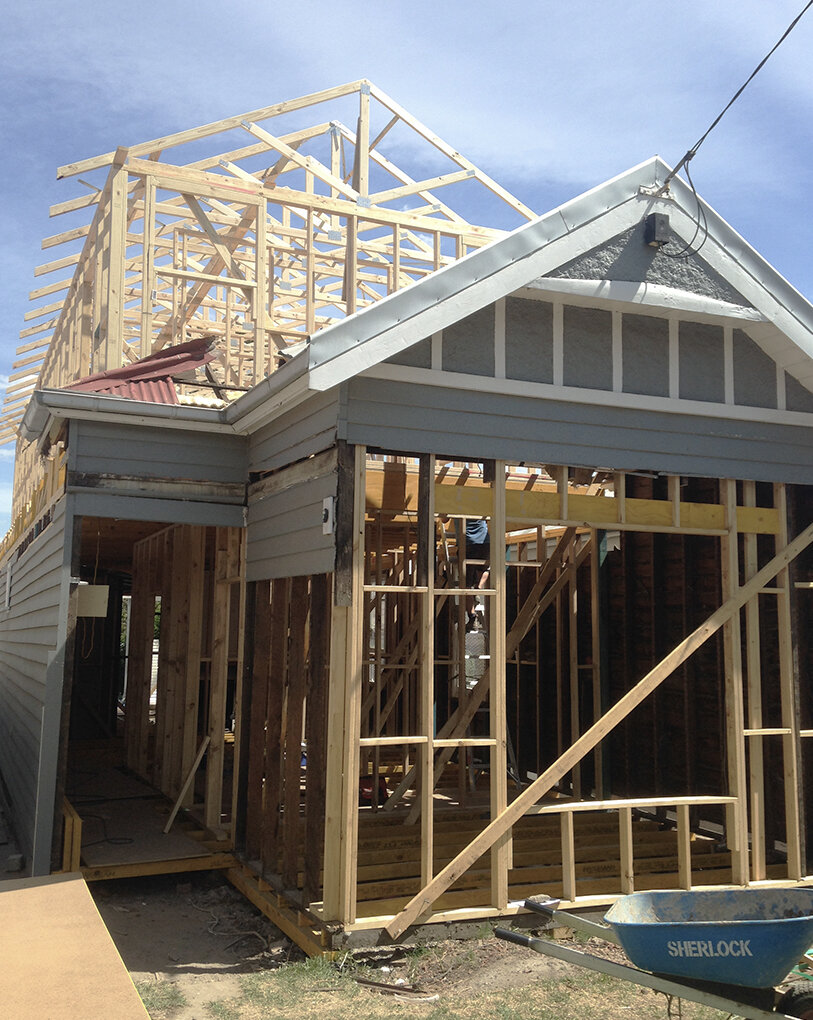
Week—4 | Frame Stage Prefabricated roof truss used upstairs and in extension (to save time and money). Commence bracing for frame inspection, scaffold, roof iron site measure, and install. Organise delivery of light fittings if the client is supplying.
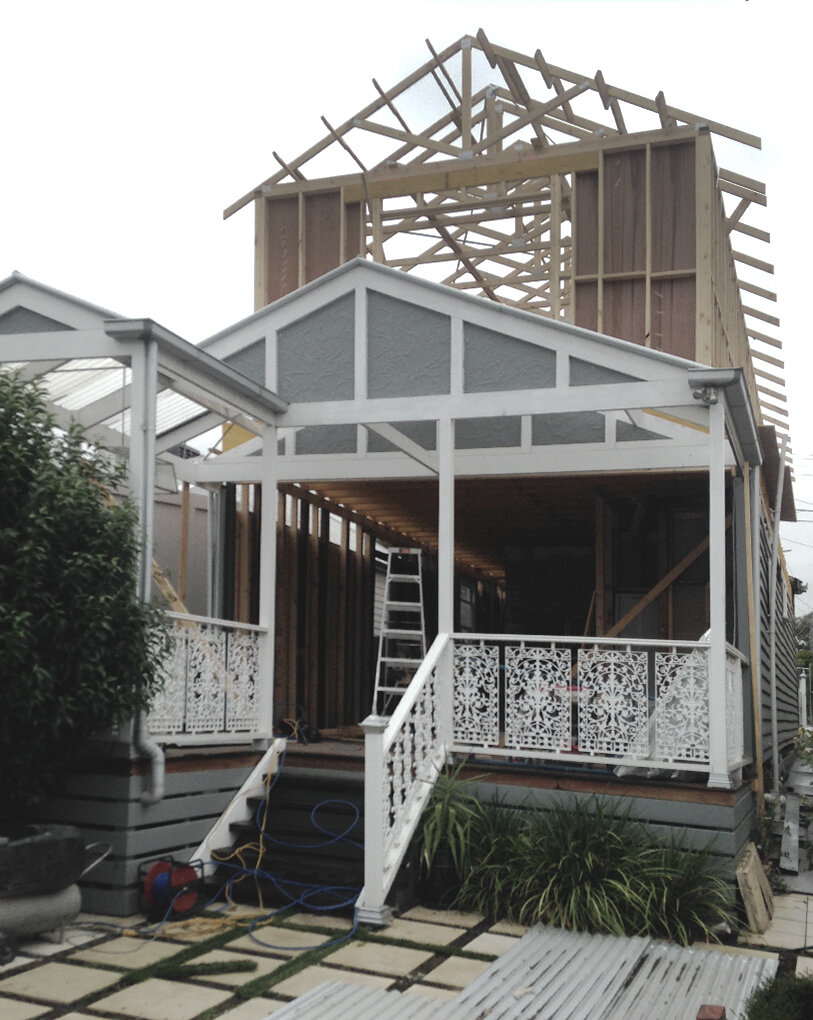
Week—4 Retaining the existing pergola at the rear of the residence.

Week—7 | Lock up stage Upstairs scaffold erected, wall frame finished and passed inspection, roof iron installed, painter organised, pre-primed timber windows installed throughout. Kitchen site measure (as may take up to 8 weeks). Note - always seal weatherboard cuts and concealed timber joints while installing.
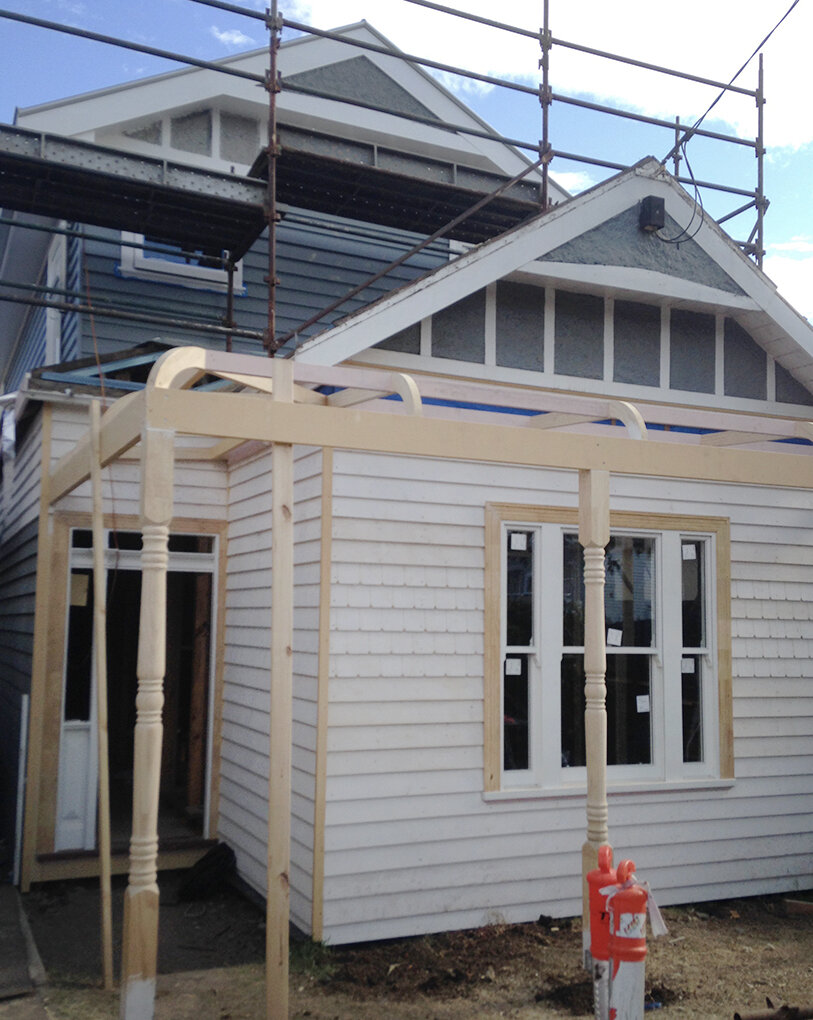
Week—8 | Lock up stage Painting, rendering, electrical, and plumbing finished. Bull nose veranda and antenna installed. Quality control checks.
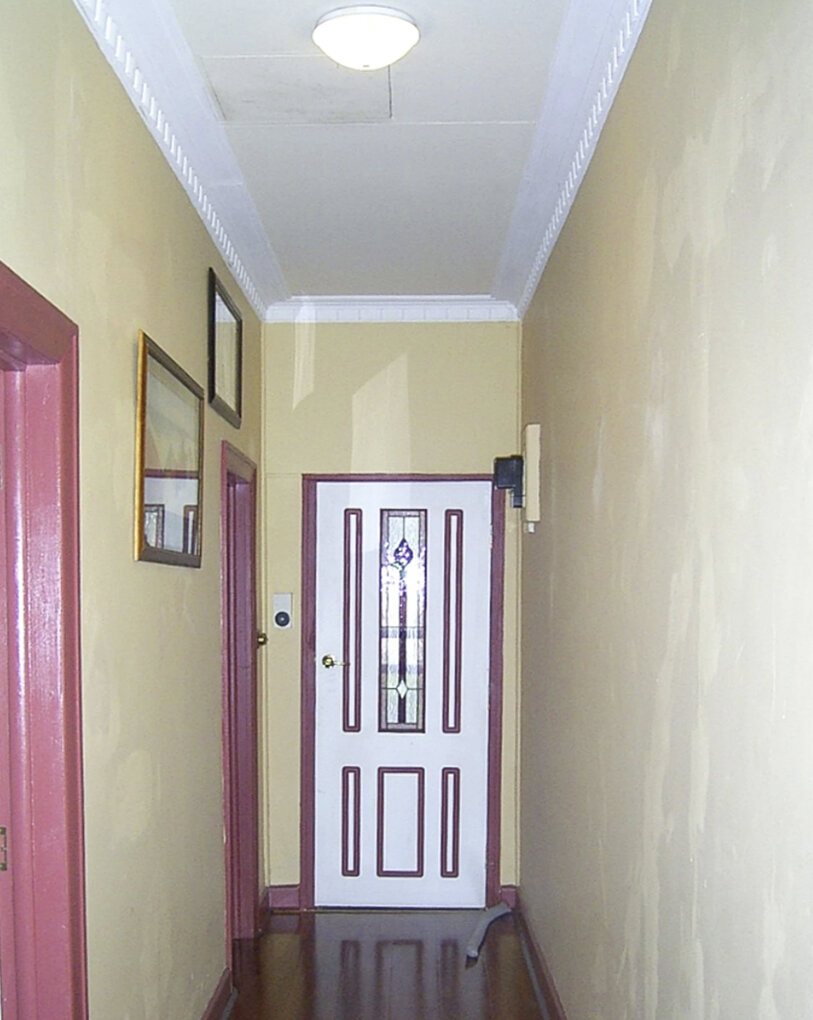
Original build | Hallway
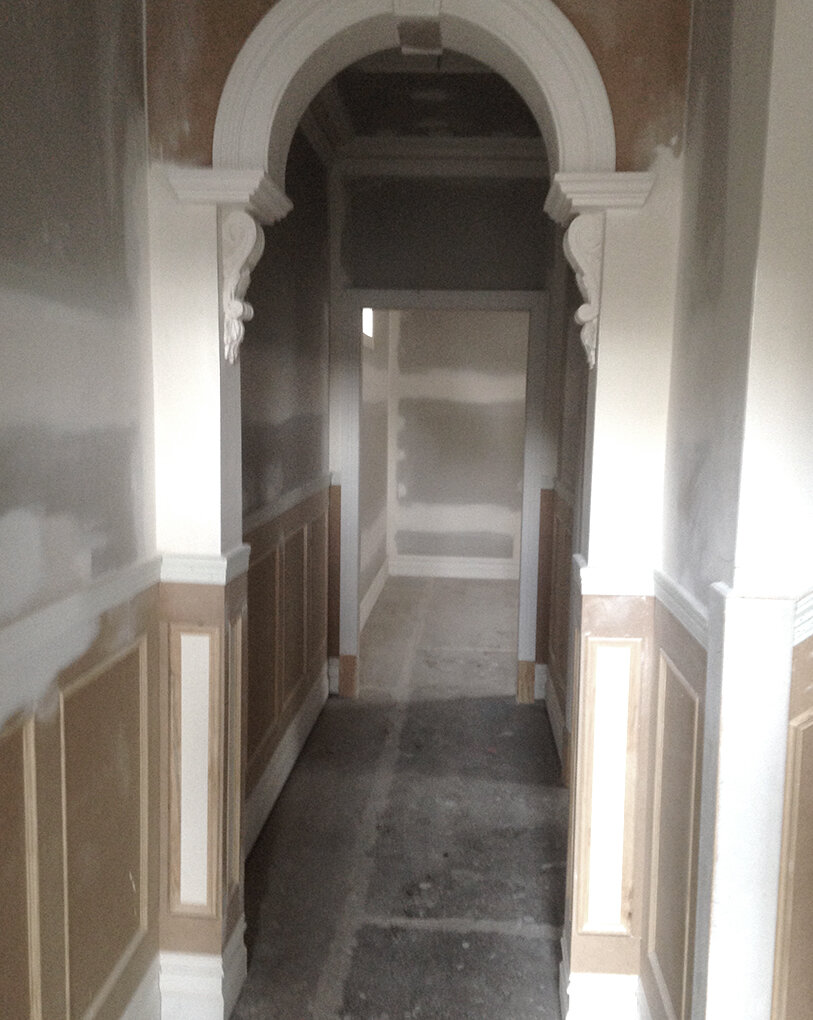
Week—10 | Fix Out Stage MDF 10mm board with moulding insert to height of 1.2mt. Typical Victorian style skirting, architrave (not as hard to create as it looks!). Simple components with decent carpentry. Bottom skirting board not fixed (easier for floor installation). Skirting boards removed to allow for floorboard thickness.

Finished Product Important to use enamel paint finish to all panel work. Plaster to have typical low sheen paint. Floorboards installed, skirting fixed on before paint.
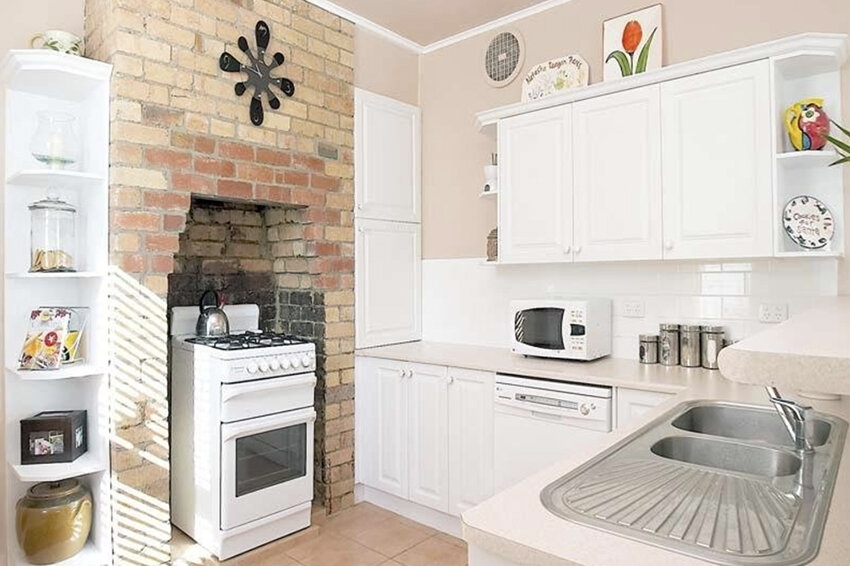
Original Kitchen
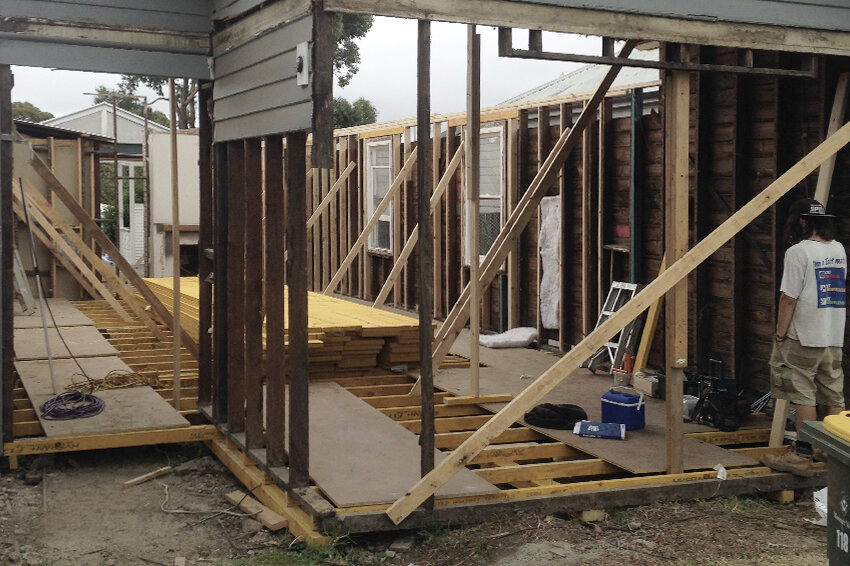
Once again it's all a process of elimination. In this case the external weatherboards were in good condition and the old hardwood was showing no signs of termite damage- Perfect for holding the upstairs load. All the pine timber on the angle is for bracing purpose only
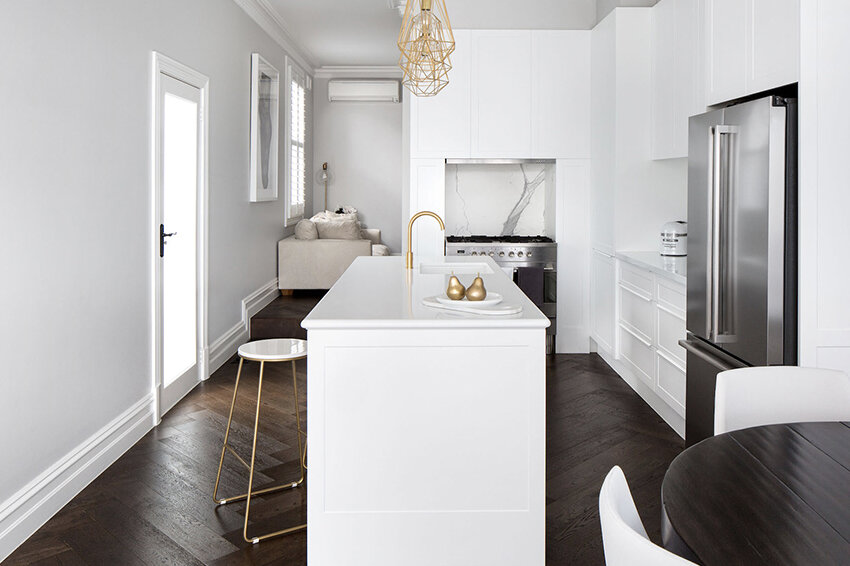
Finished kitchen with overhead cupboards. At this stage the plasterer has returned to install remaining ornate cornice to bulkheads.
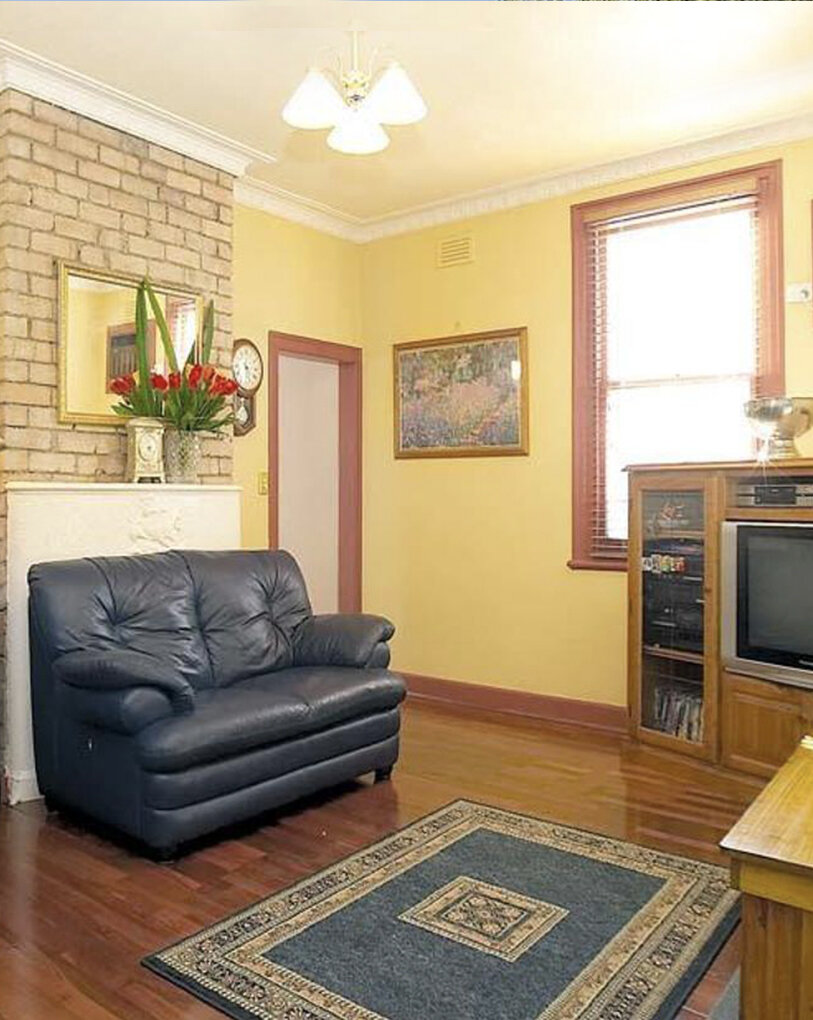
Original Lounge Room
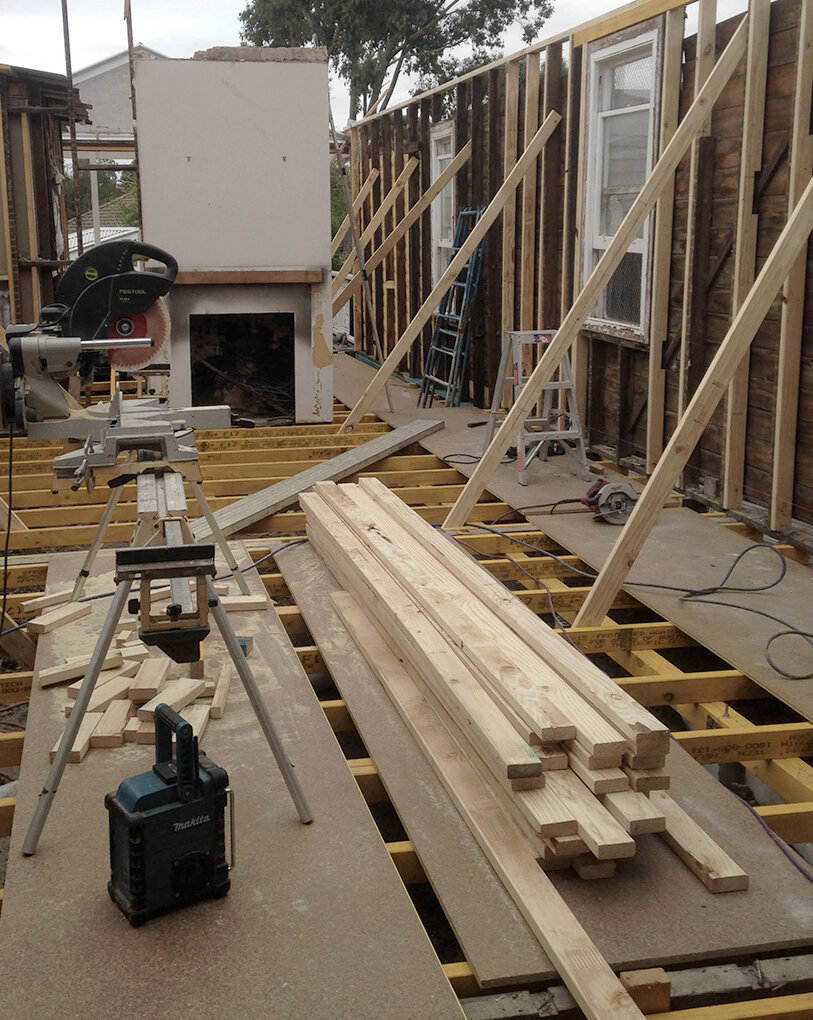
We decided to remove all the old hardwood floor joist and replace them with new.
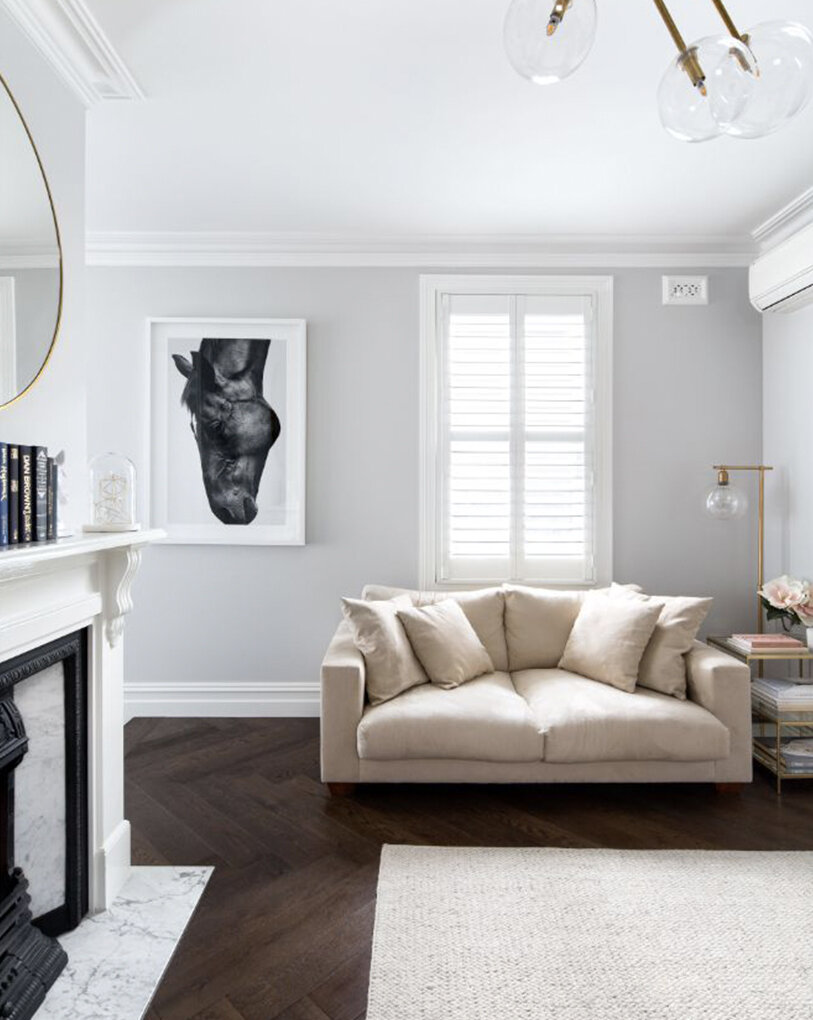
New lounge area.
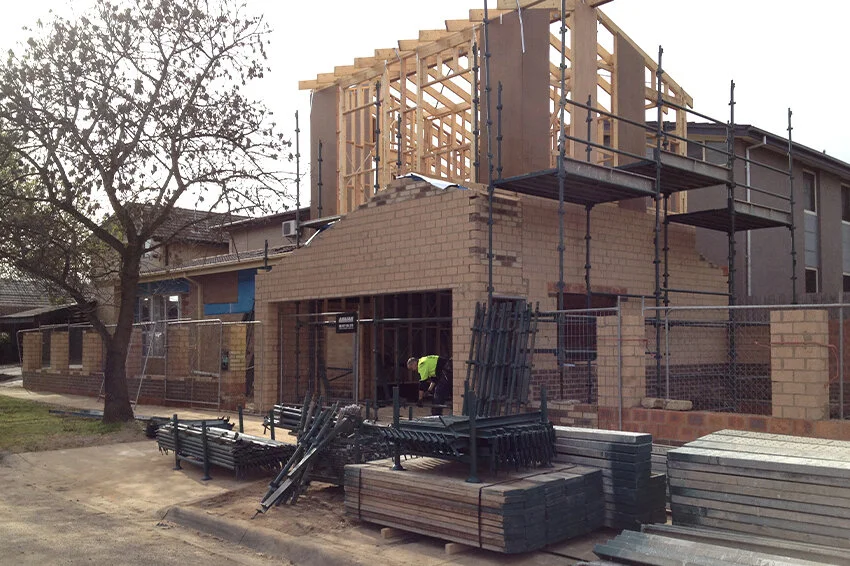
Fully renovate the existing 1980’s home with additional garage, upstairs bedroom, walk in robe and en-suite. Being a inner city property utilising as much space as possible while meeting the customers needs.
Finished product.
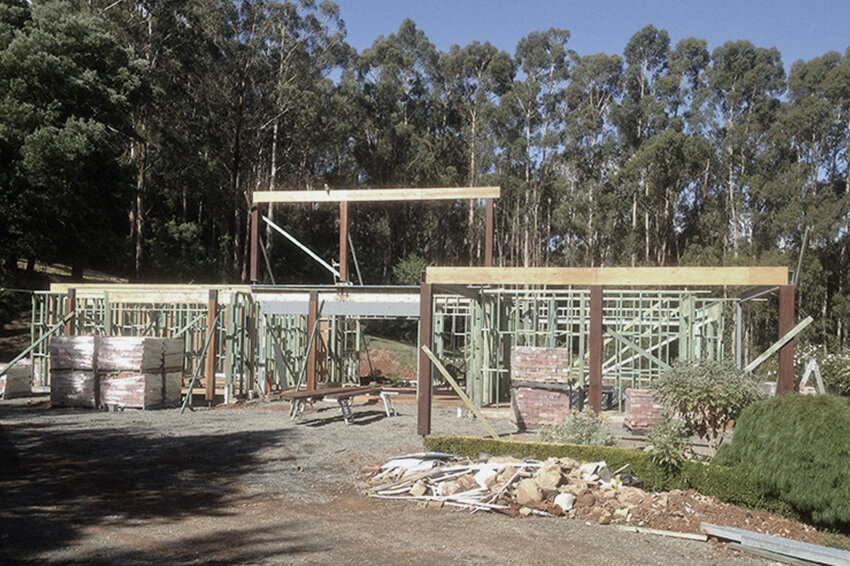
Commence frame stage with termite treated timber.
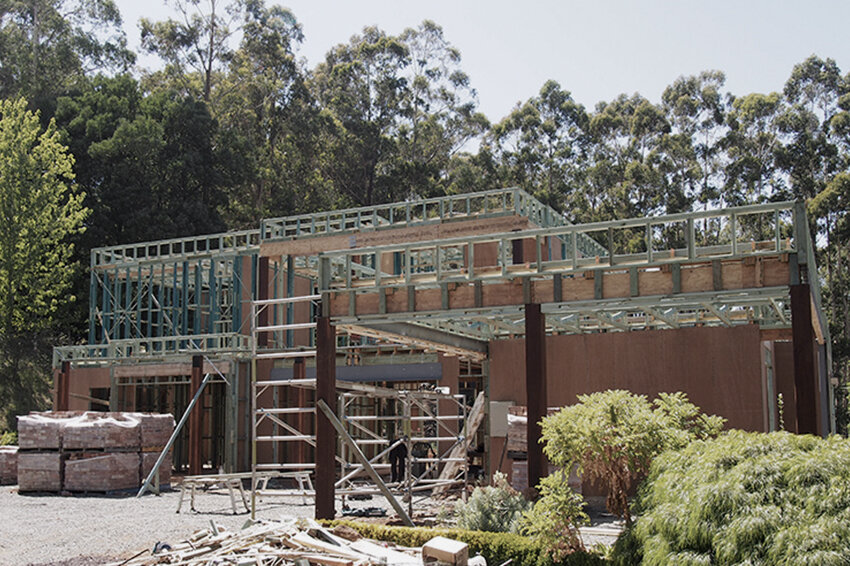
Frame stage complete.

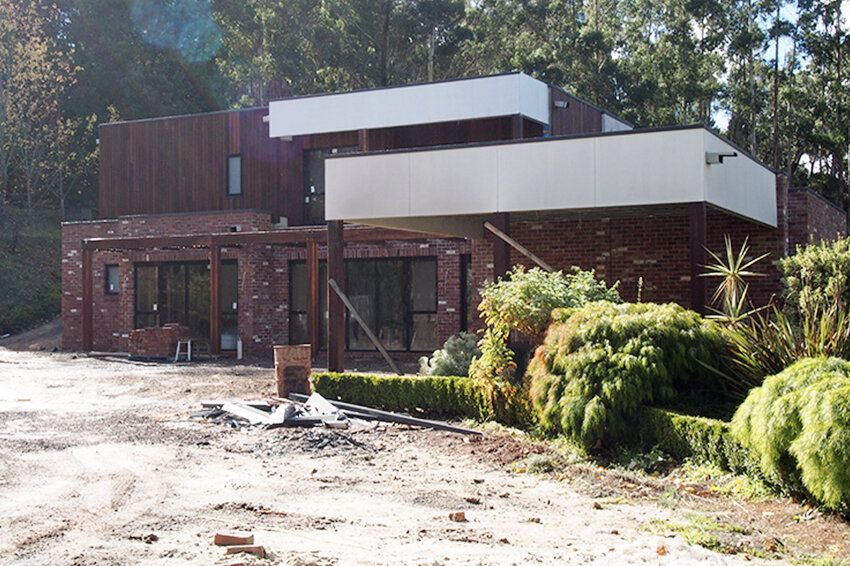
Lock up stage with recycled red bricks, spotted gum cladding and compressed cement sheet (matrix cladding)

Finished
